For the complete documentation index, see llms.txt. This page is also available as Markdown.

Source Signal

The Source Signal scope displays a live preview of the input video. It doubles as the primary inspection tool — zoom into pixels, read colour values, reveal faint neutral casts with Chroma Boost, overlay zebras and focus peaking, isolate channels, and compare snapshots.

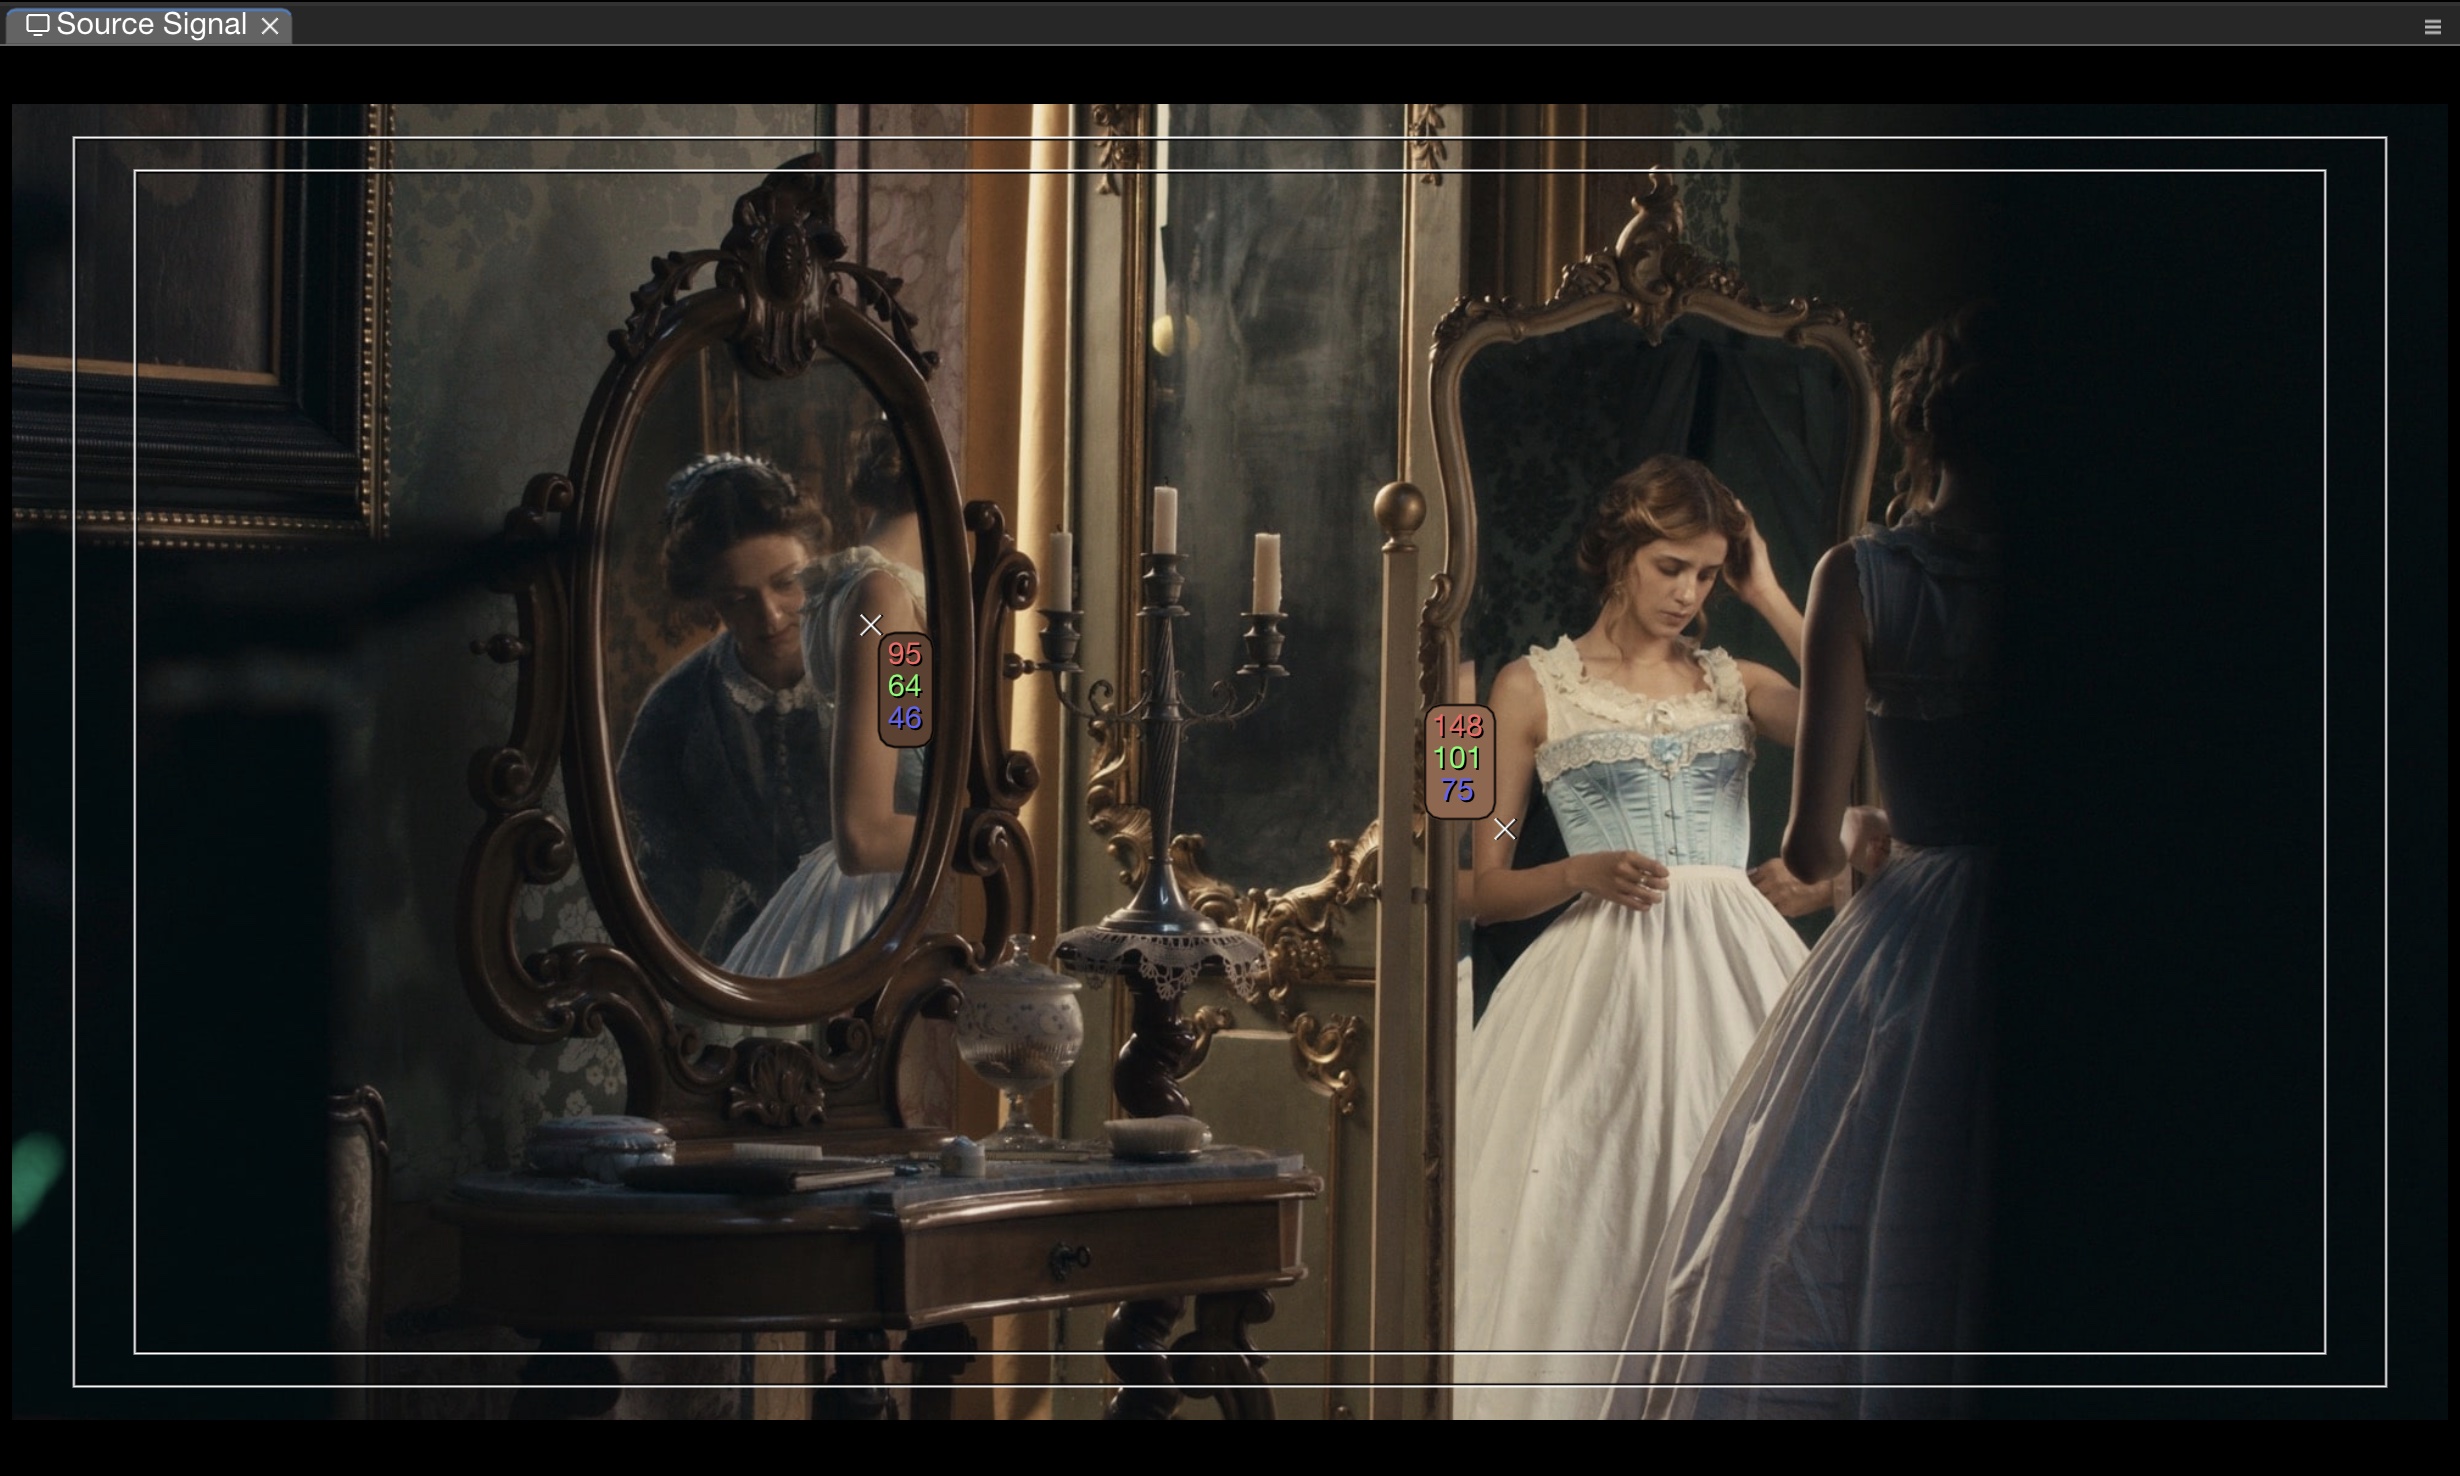
Source Signal scope with color picker pins
Zoom & Pan

Zoom up to 15× and pan freely across the image — the same controls used in professional image editors.

Input
Action

Mouse wheel

Zoom in/out (centred on cursor)

Space + Left-click drag

Pan the zoomed view

Middle-click

Reset zoom to 1× and centre

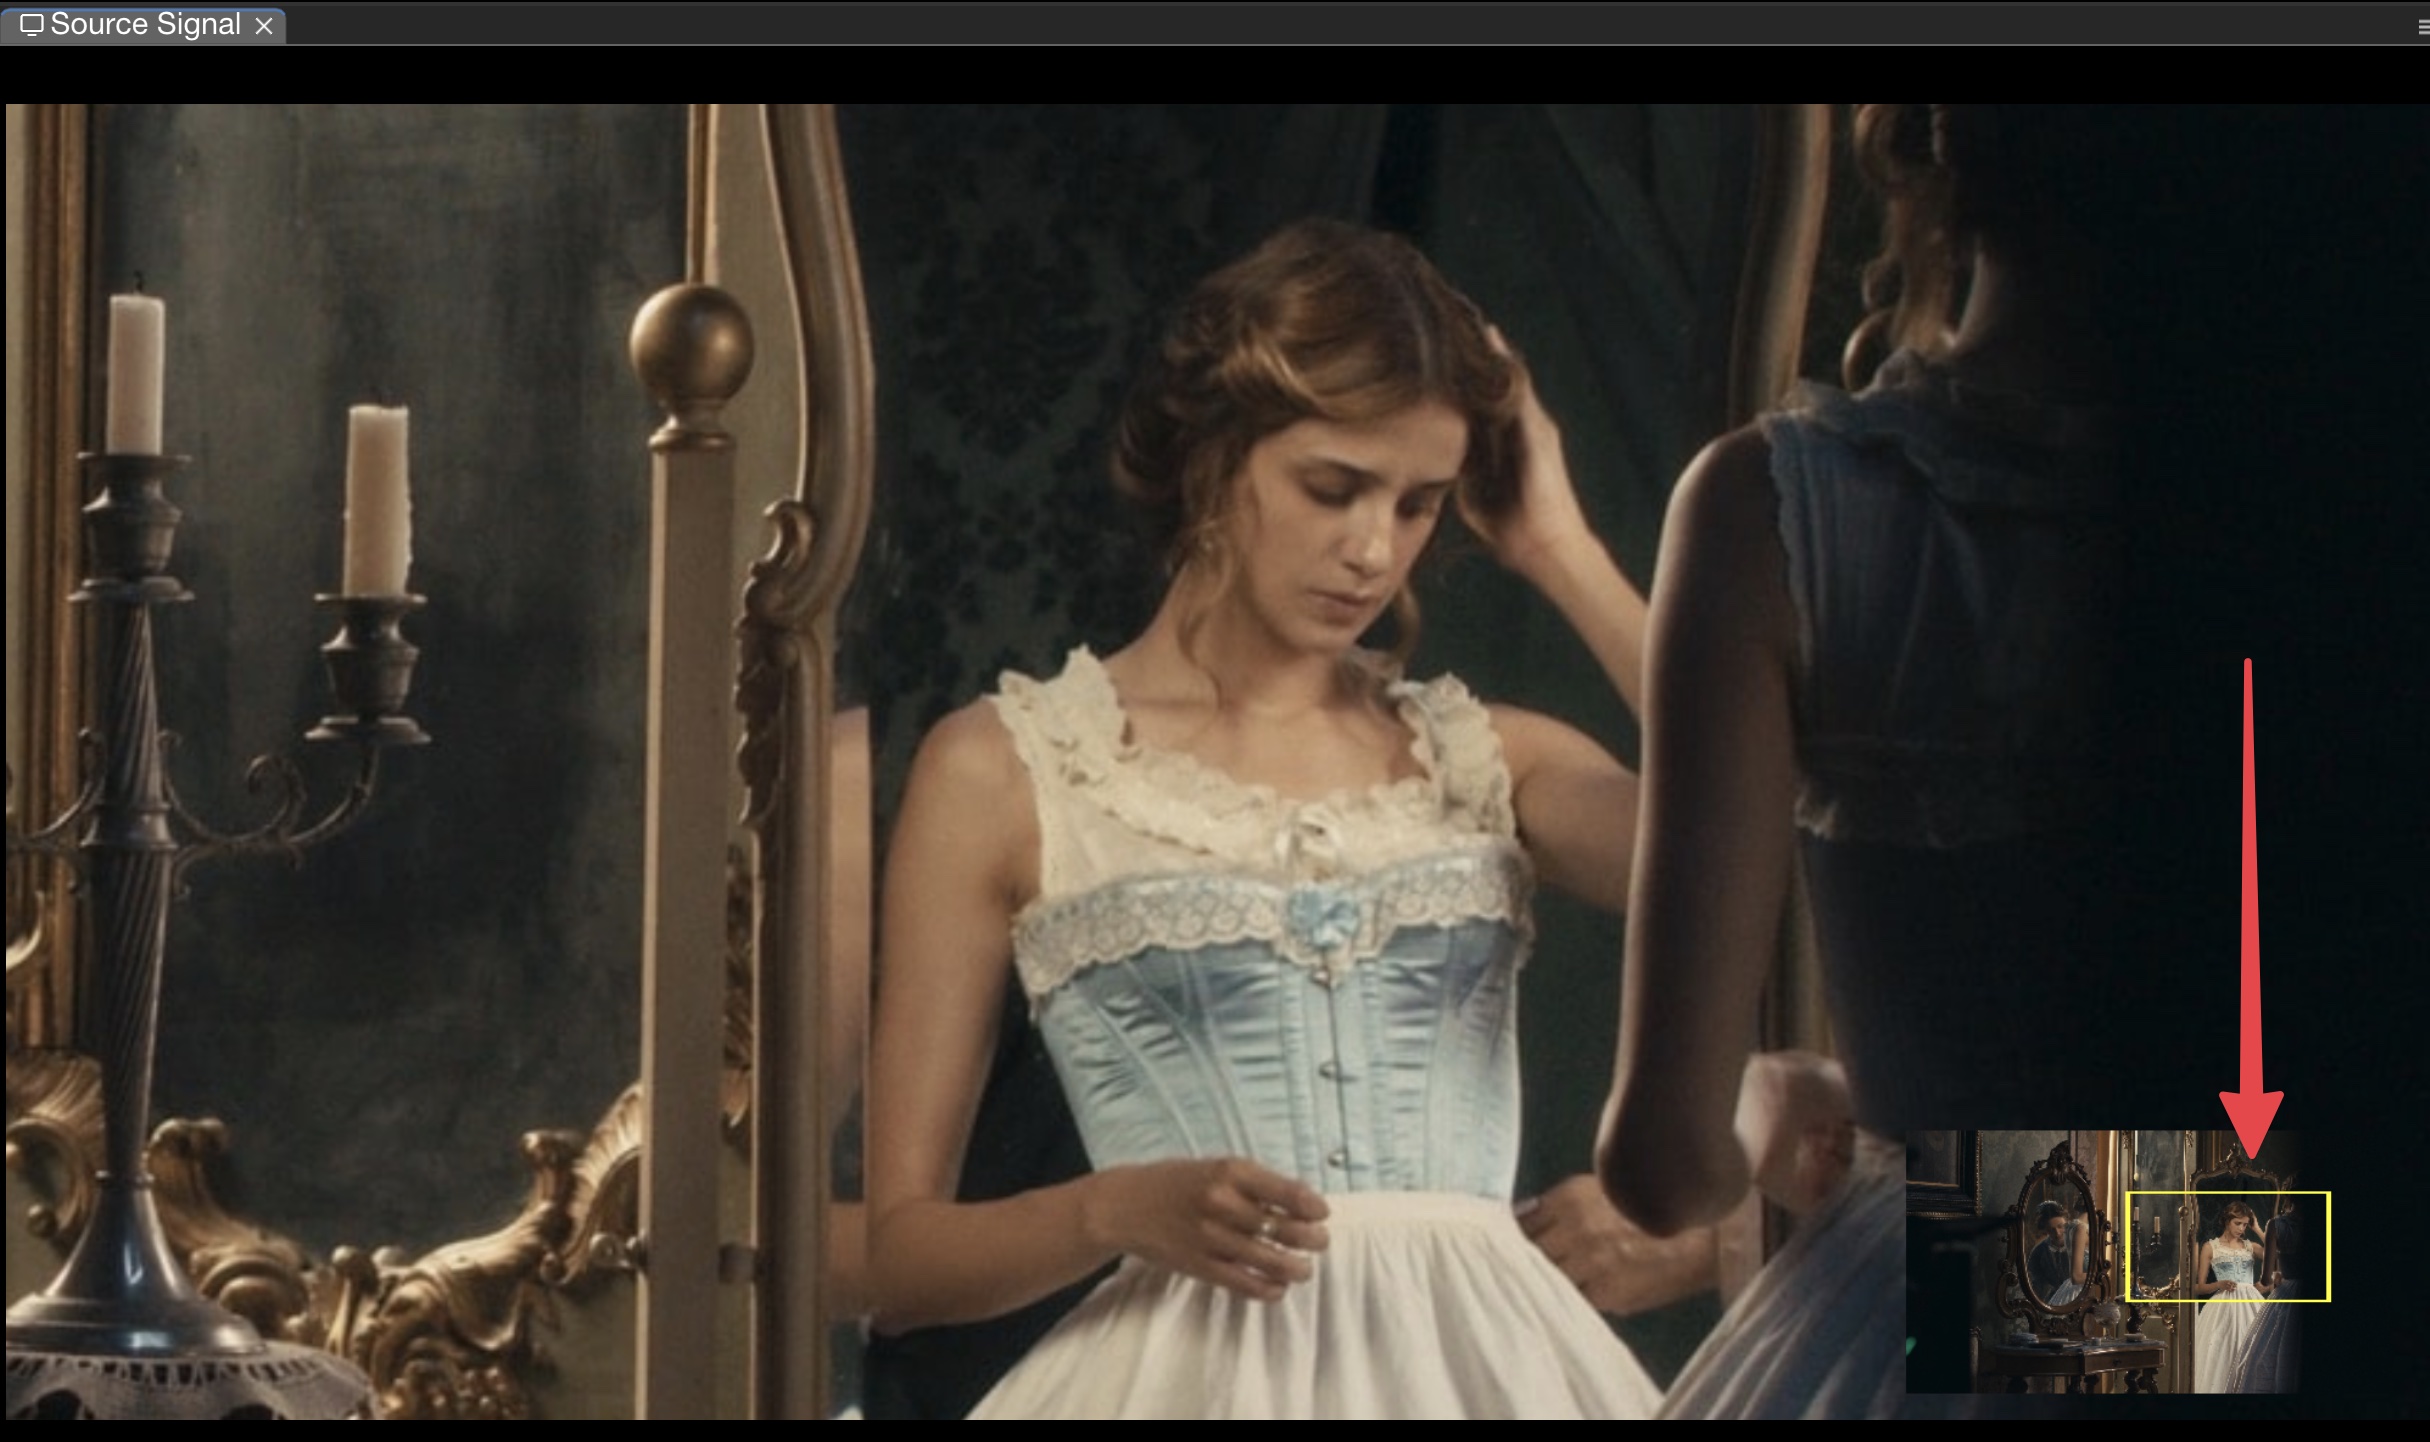
A mini-preview thumbnail appears in the top-right corner while zoomed, showing a yellow rectangle for the current viewport. Toggle it with the Show zoom preview setting.

Zoomed view with mini-preview thumbnail
Zoom & Pan is also available in the False Color and Skintone Scope.

Channel Isolation

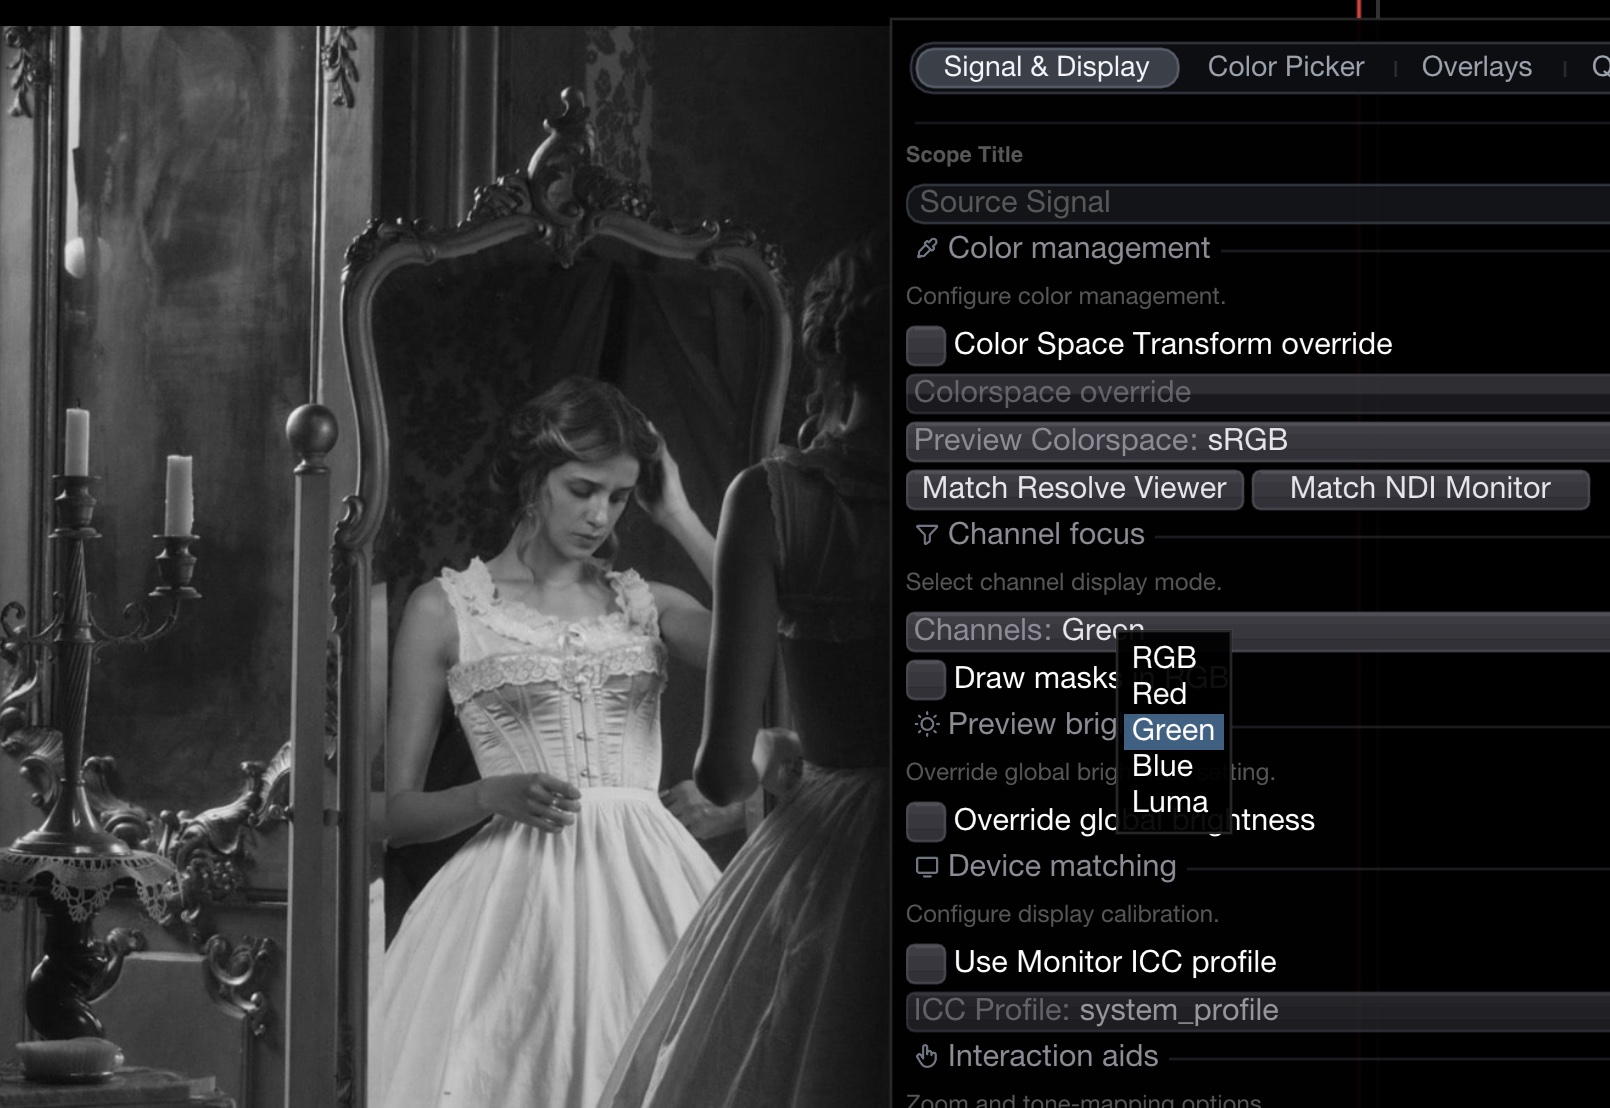
Solo individual colour channels for quick inspection of noise, spill, or exposure per channel.

Channel
Description

RGB

Full colour (default)

Red / Green / Blue

Single channel displayed as grayscale

Luma

Luminosity (Rec. 709 weighted)

When a mask is active, the Draw masks in RGB option forces the mask overlay to display in full colour even when a single channel is soloed.

Blue channel isolation

Color Picker

Hold Alt to activate the colour picker, or enable Always show in settings. Click to place persistent colour pins (up to 30) anywhere on the image.

Input
Action

Alt (hold)

Show colour picker

Click (with picker)

Place a colour pin

Shift + Click

Copy HEX value to clipboard

Ctrl + Click

Add value as a global target

Middle-click or Double-click on pin

Remove pin

Picker formats

RGB 8-bit · RGB 10-bit · RGBY · RGB float · HEX · CMYK · HSV · Nits

Picker options

Setting
Description

Source

Input Source, Rescaled Source, or Working Signal

Sampling area

1×1, 3×3, 5×5, 7×7, or 9×9 pixels

Monochromatic

Render picker overlay in grayscale

Show on hover only

Hide the readout until the pointer moves

Data Analyser

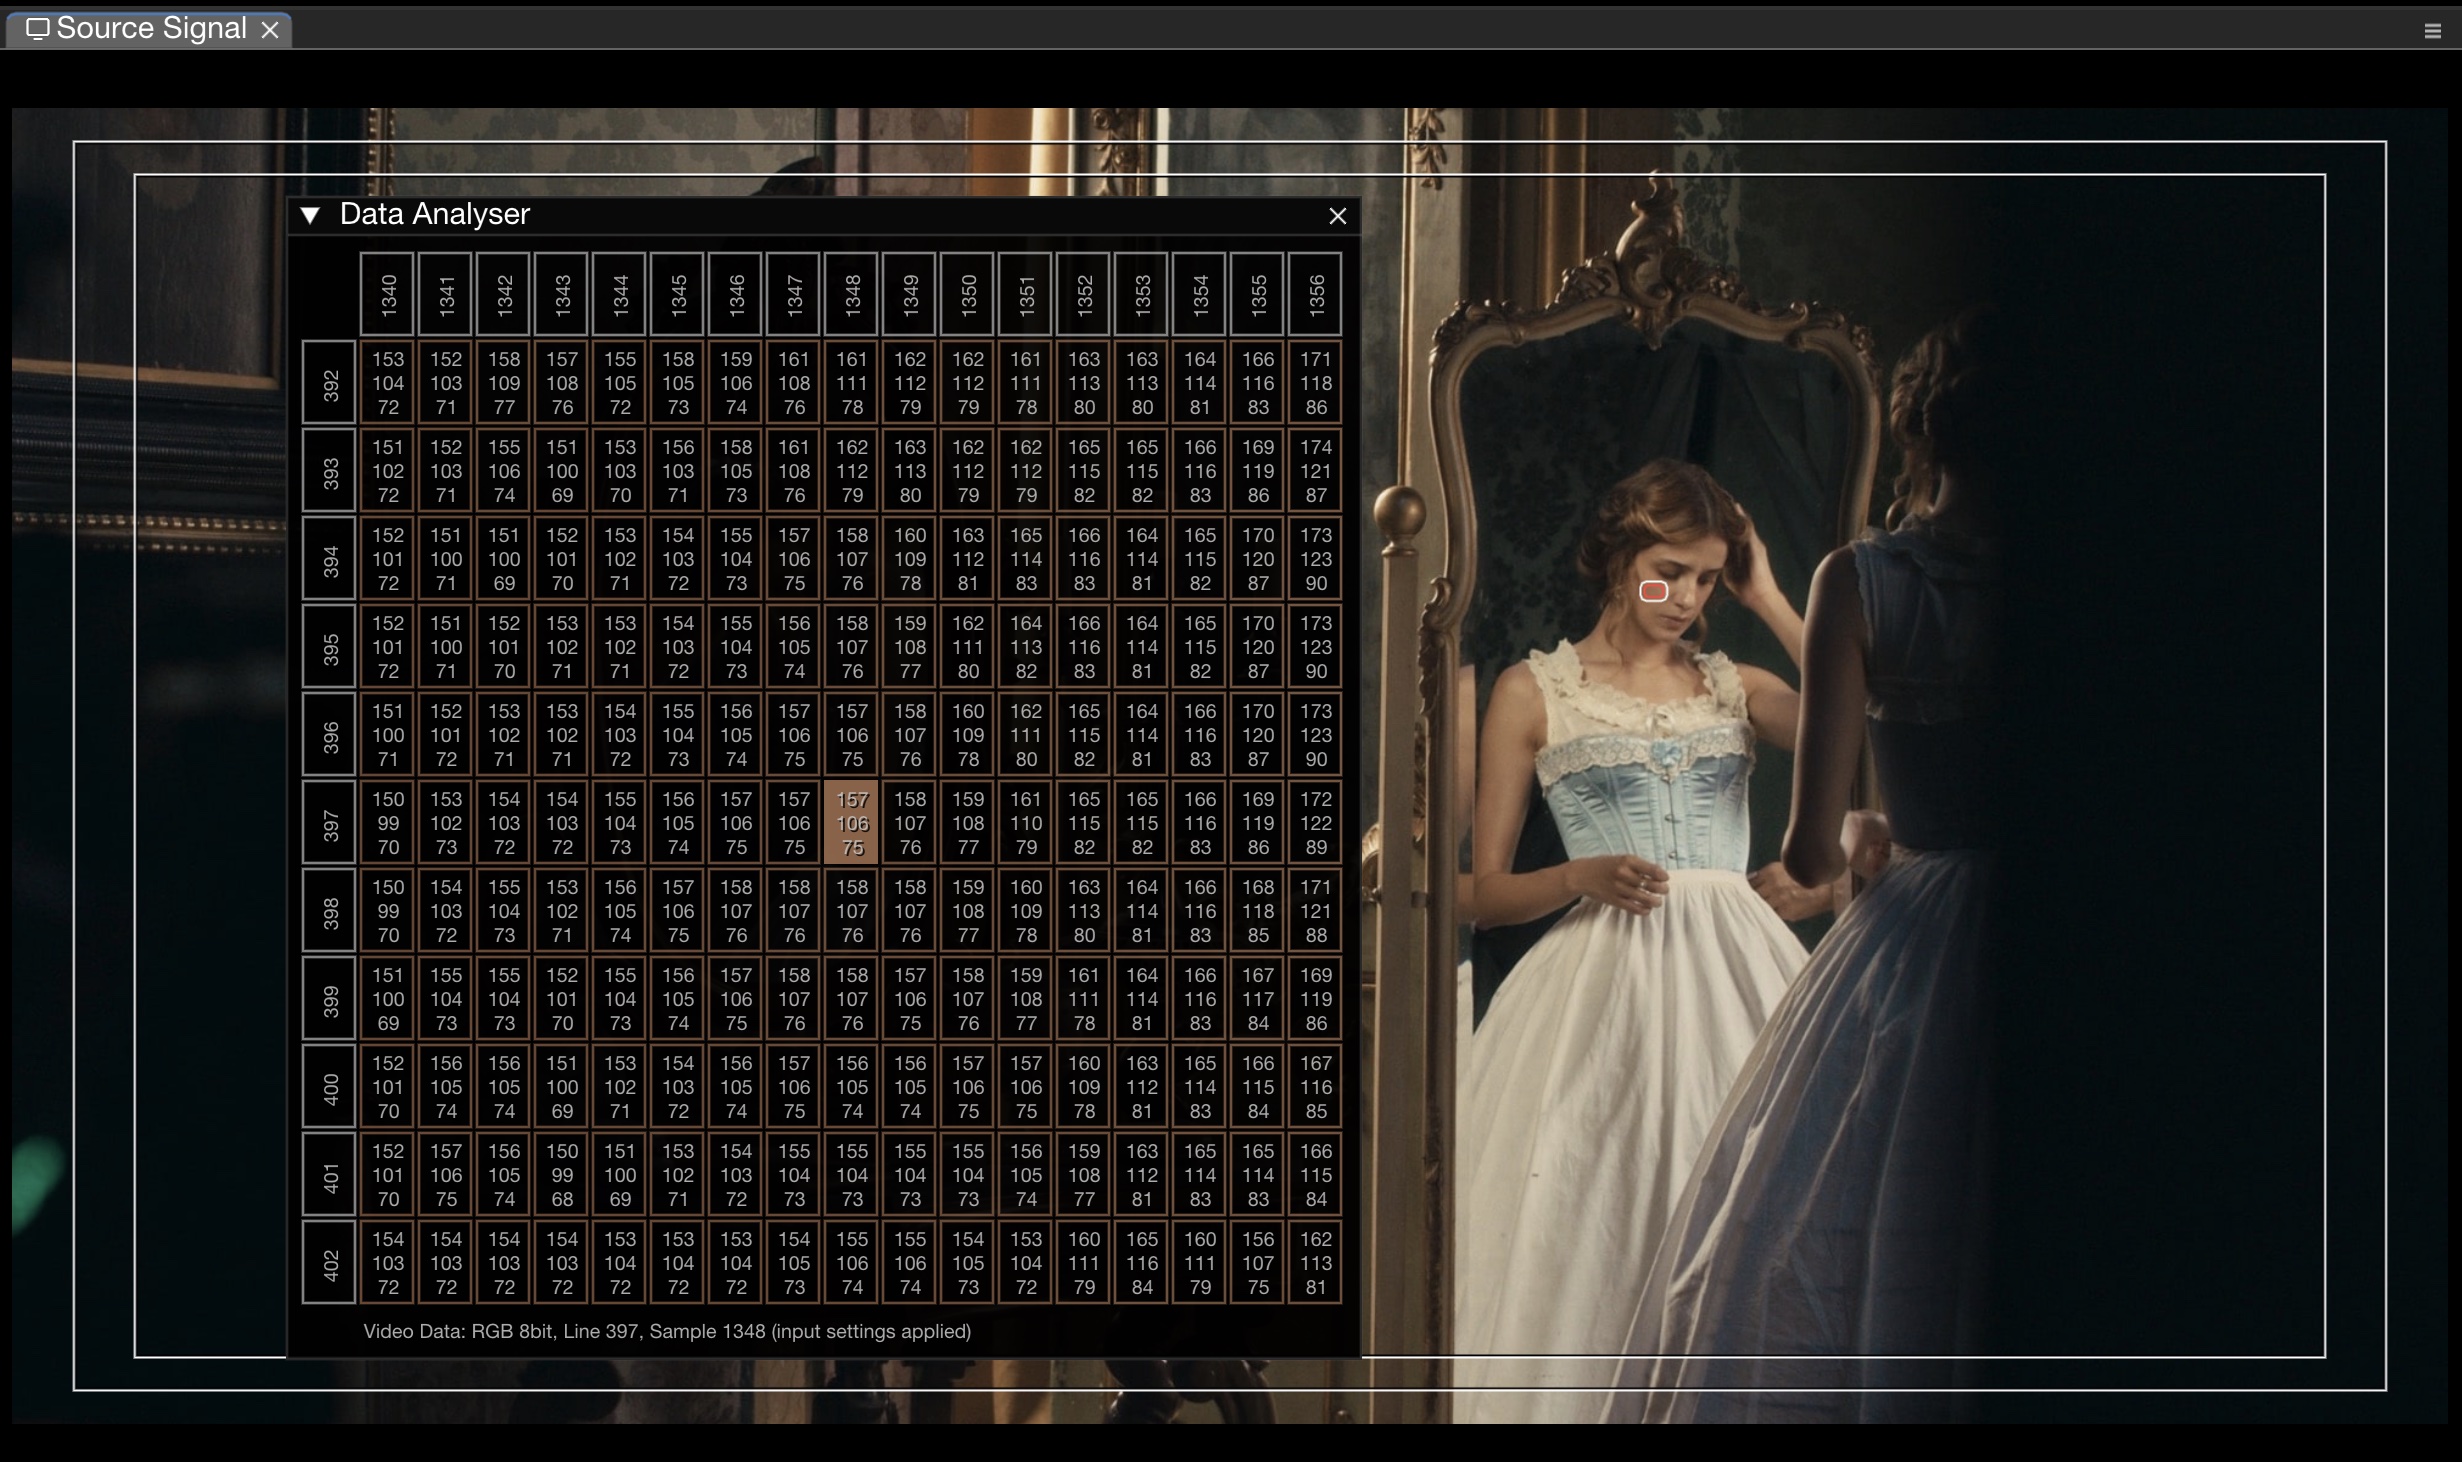
A 17×11 pixel grid that shows individual code values around a chosen position. Drag to reposition the analyser area on the image.

Data Analyser showing 10-bit code values
Setting
Description

Format

8-bit, 10-bit, 12-bit, 32-bit float, Nits, Nits per channel

Source

Input Source, Rescaled Source, or Working Signal

Font size

Small or large

The status bar at the bottom shows the video data type (RGB/YCbCr), format, line number, and sample number.

See also: Data Analyser (QC)

Focus Peaking

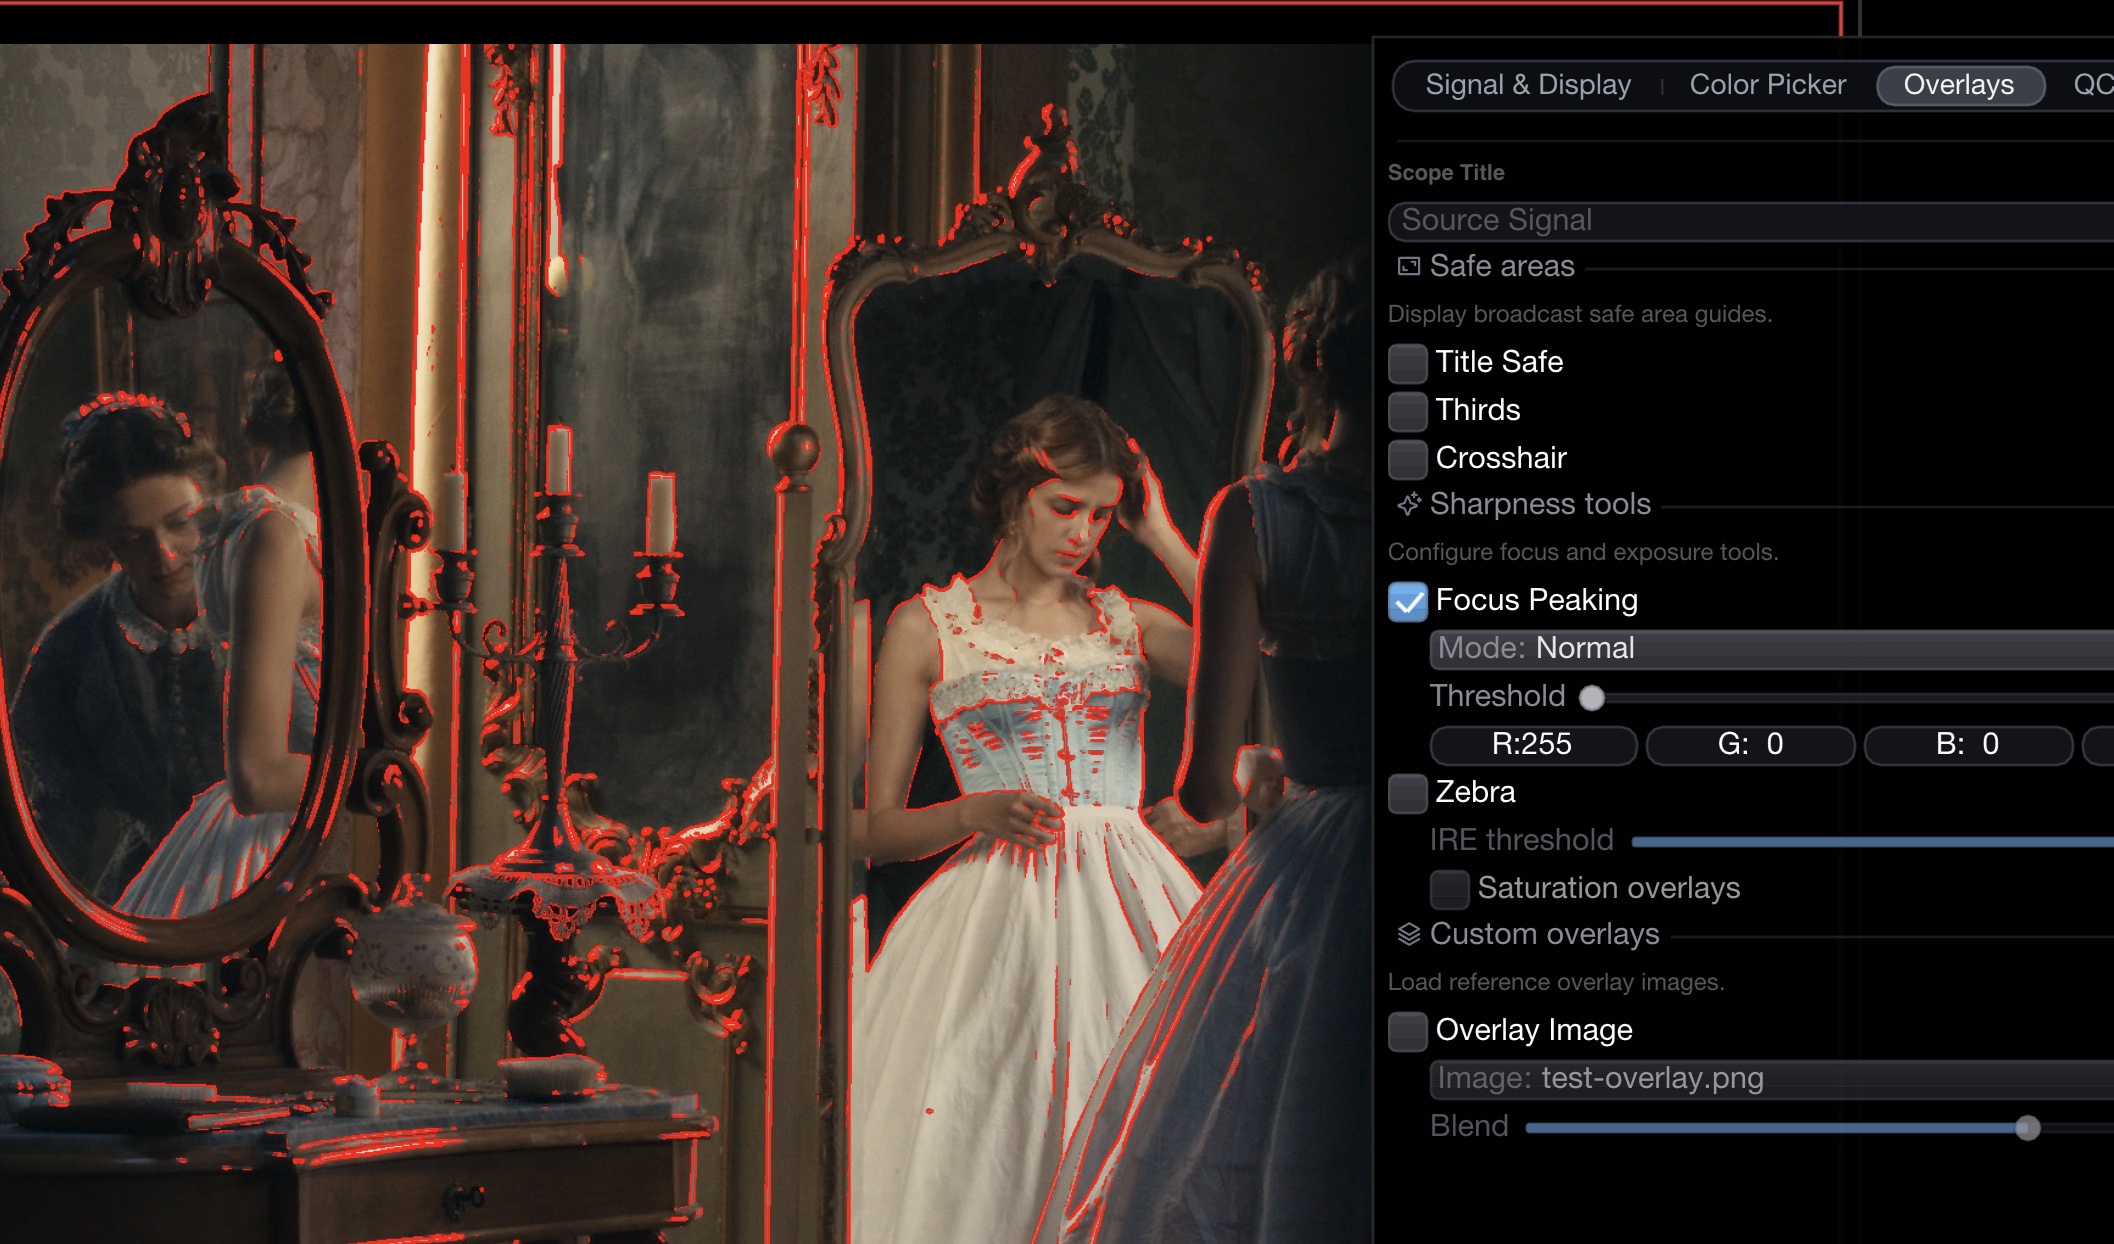
Edge-detail overlay that highlights in-focus areas. Requires Live Pack.

Focus Peaking in Regular mode
Setting
Description

Mode

Regular — coloured edges over the image · Edges — enhanced white edges on black · Enhanced Edges — binary white edges on black

Threshold

Edge sensitivity (0–100 %)

Peak colour

Colour used for the Regular mode highlight (default: red)

See also: Focus Peaking (Live Pack)

Chroma Boost

Available in version 1.11.33+.

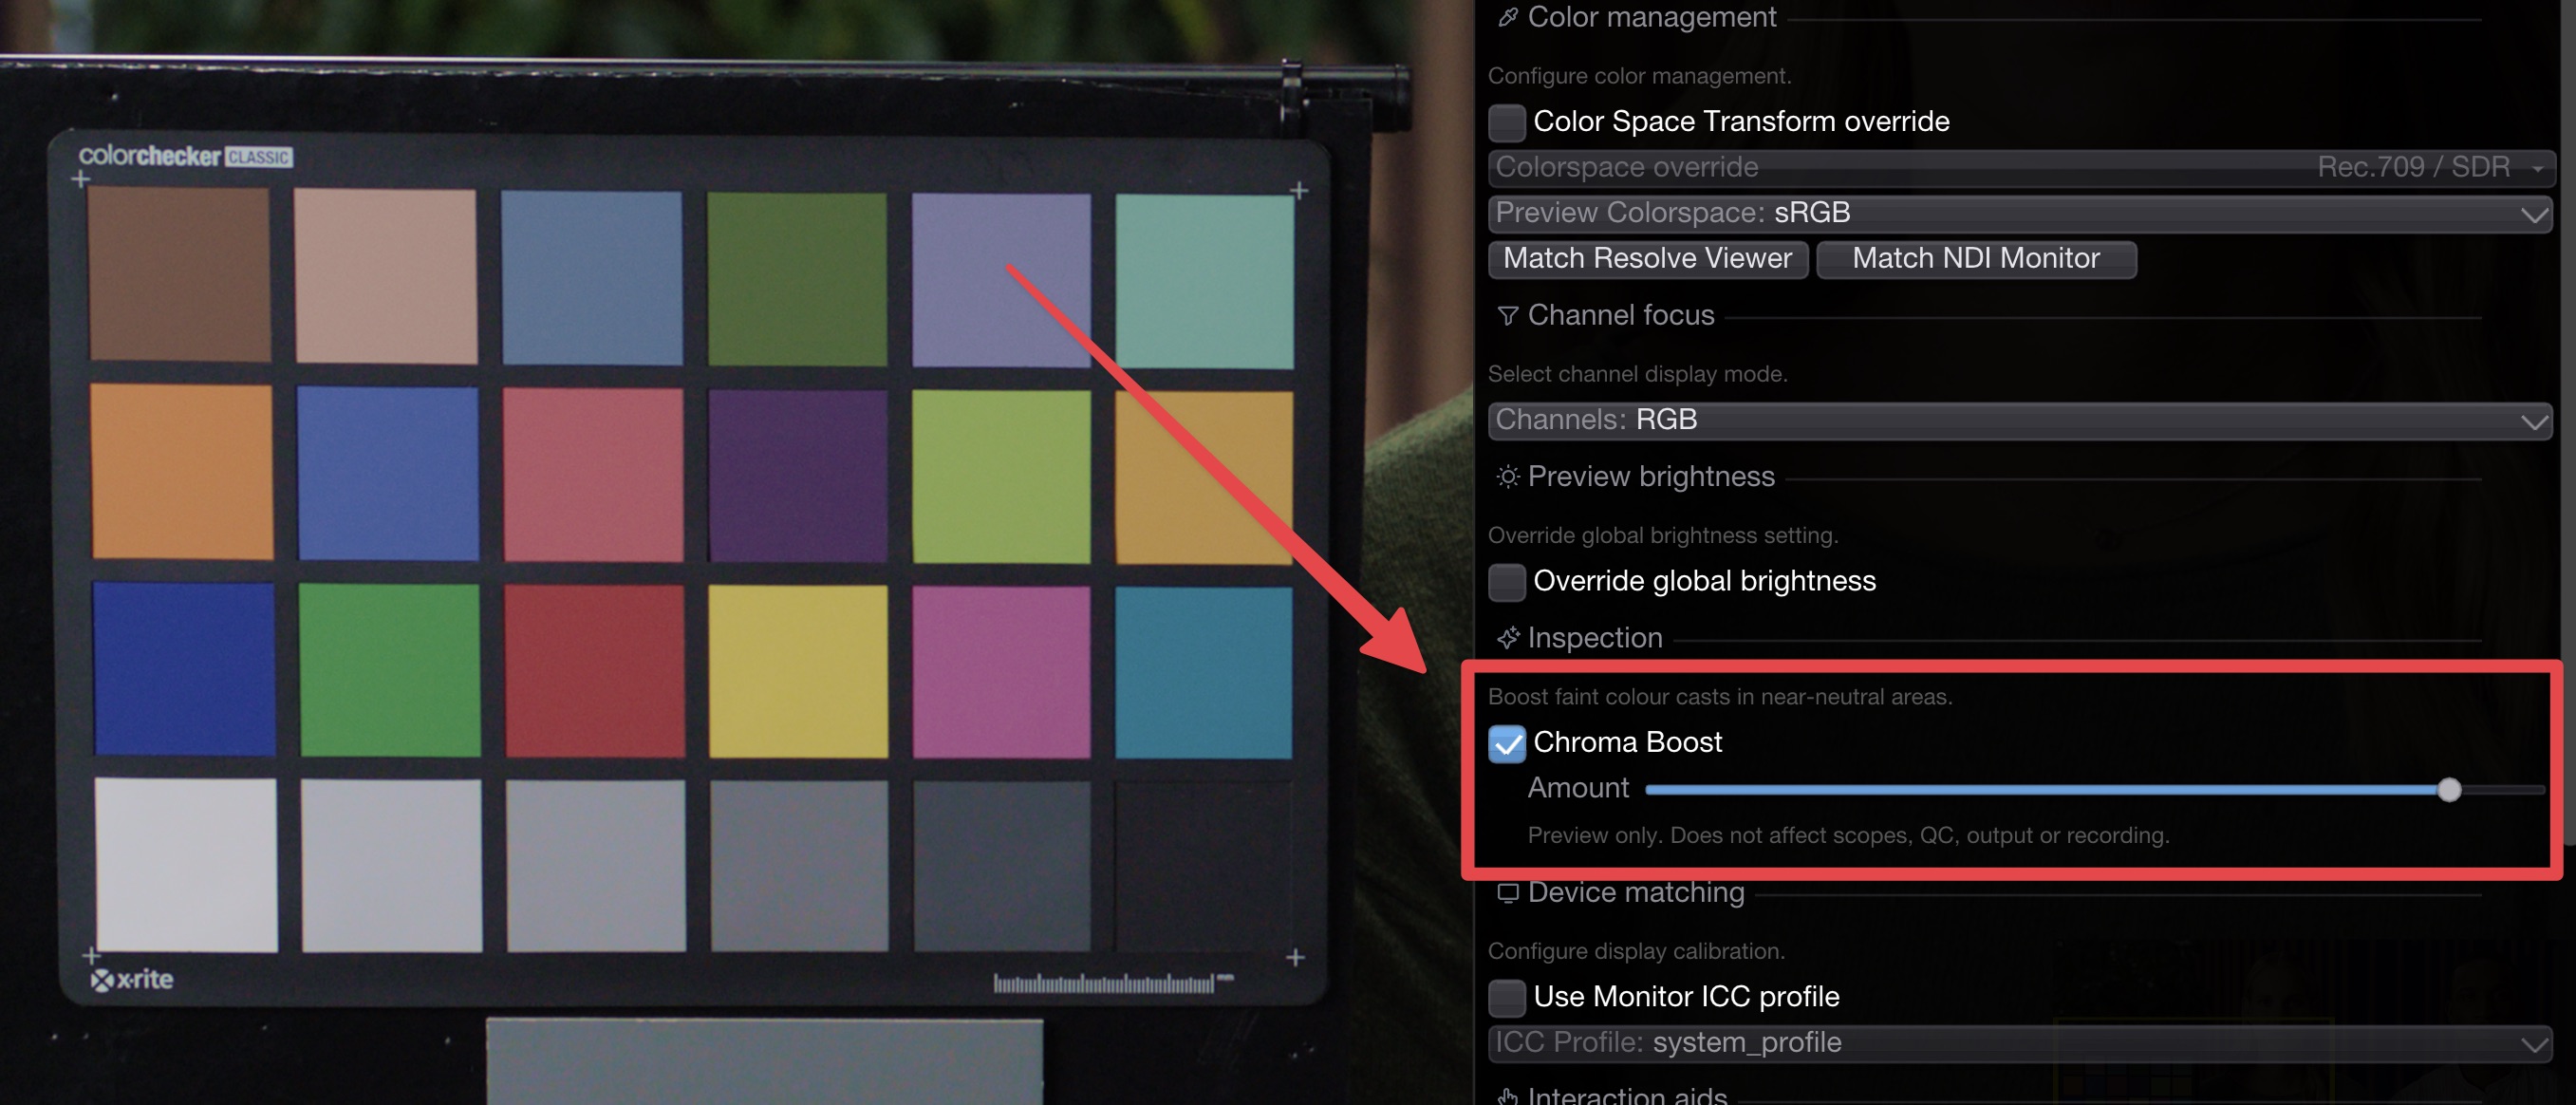
Chroma Boost is a preview-only inspection aid that amplifies subtle colour differences in low-saturation areas. Use it to spot faint green, magenta, or blue contamination in whites, greys, walls, fabrics, skin-adjacent neutrals, and other nearly neutral surfaces.

Unlike a global saturation control, Chroma Boost is strongest near neutral colours and tapers off as saturation increases, so already colourful parts of the image stay more stable.

Chroma Boost amplifies subtle colour differences in near-neutral areas
Setting
Description

Chroma Boost

Enable or disable the inspection mode. Also available from the Source Signal right-click menu.

Amount

Controls how strongly low-saturation colours are amplified. Start low for subtle checks and increase only when needed.

What it affects

  • Source Signal preview only

  • Does not modify the source signal

  • Does not affect scopes, QC measurements, outputs, or recordings

When enabled, the Source Signal tab shows a Chroma Boost status badge so it is easy to see that the viewer is in a temporary inspection mode.

Zebra Overlays

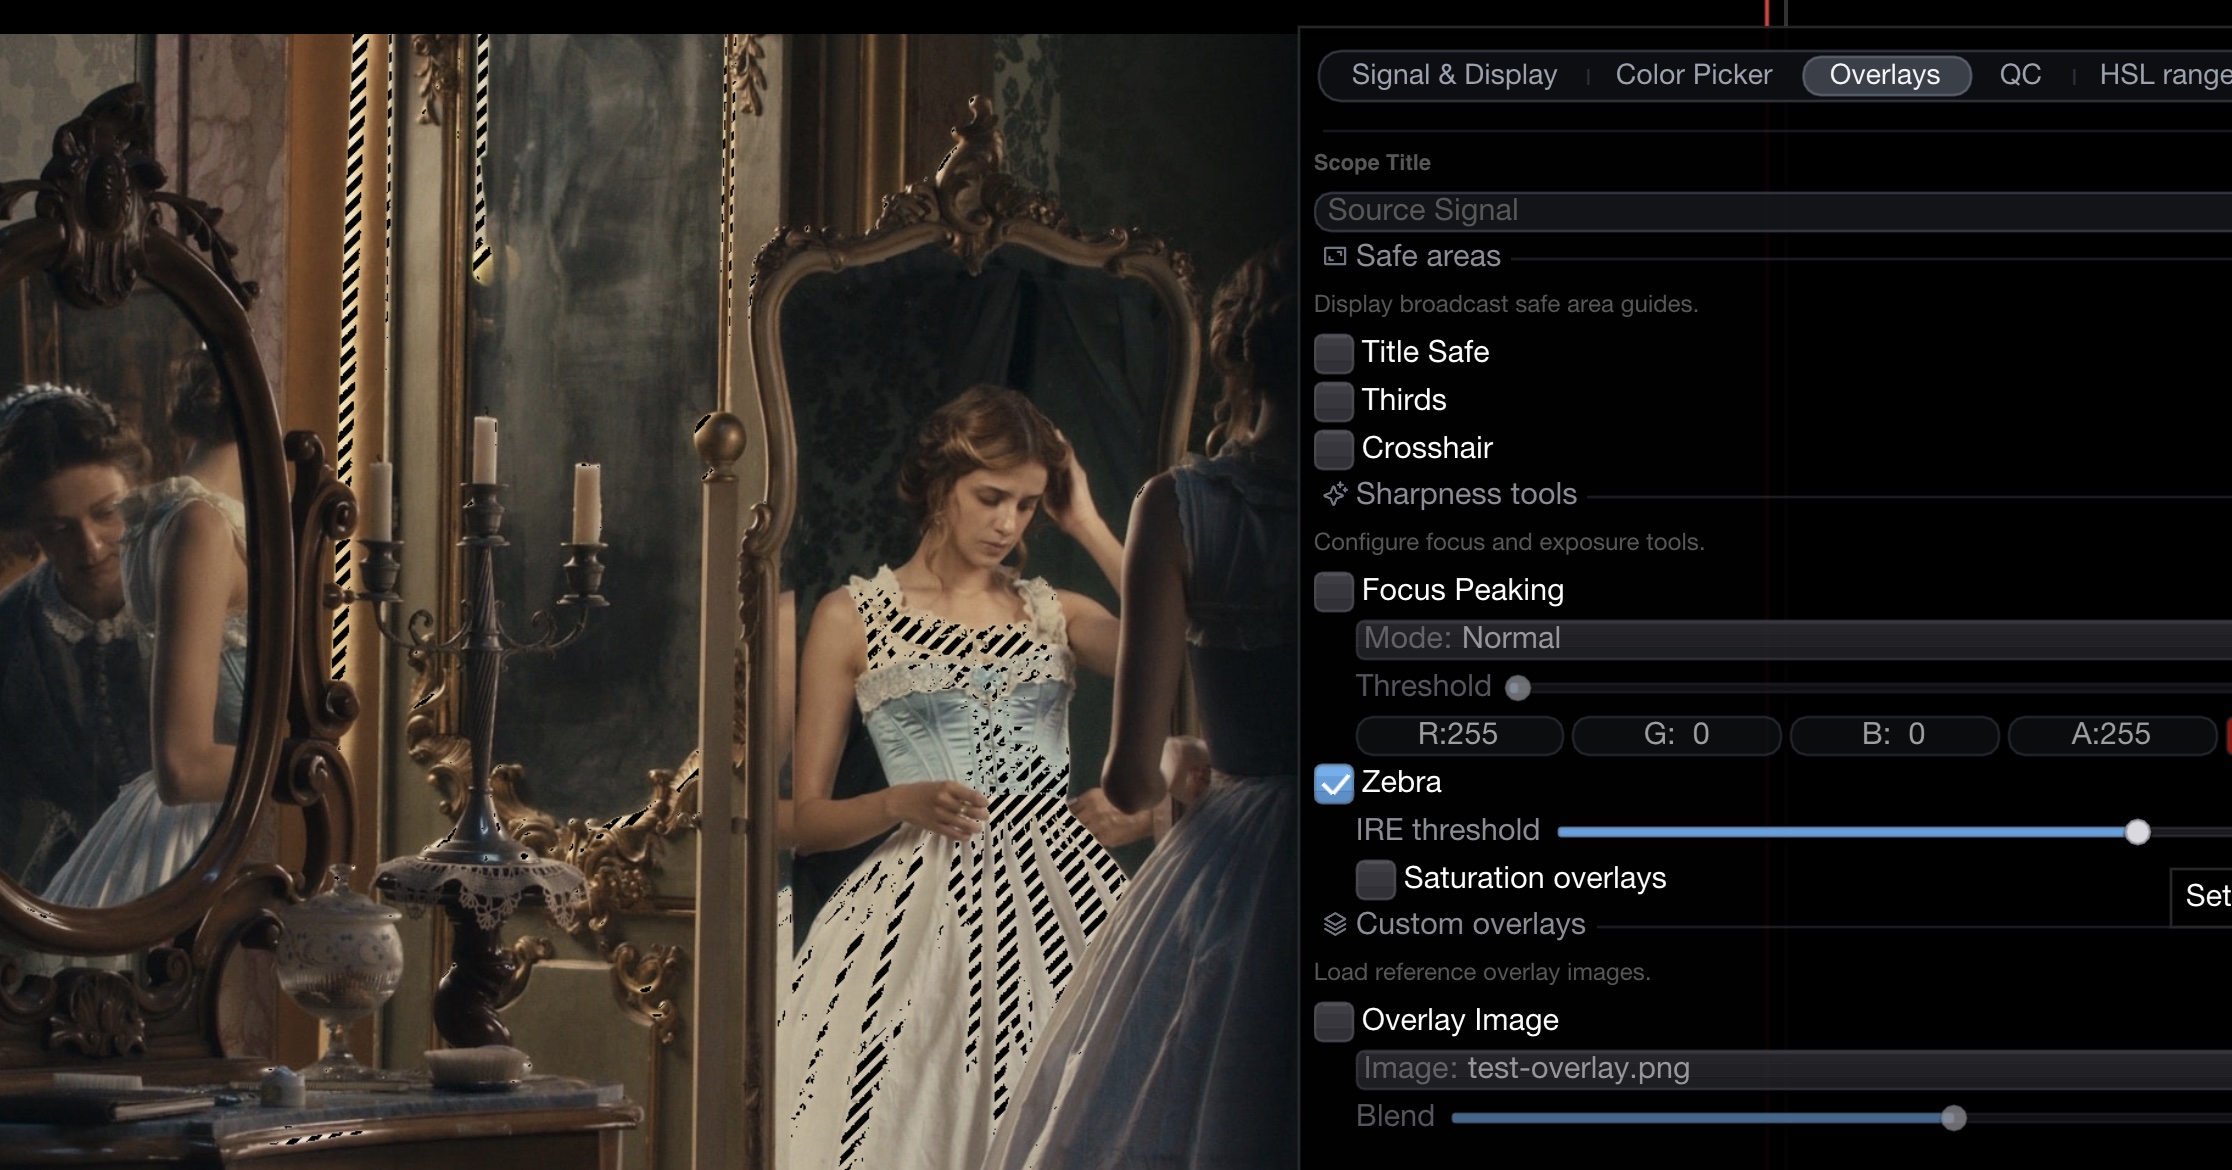
Diagonal stripe patterns warn about overexposure or illegal saturation levels.

Luma zebra overlay

Luma zebra

Setting
Description

IRE threshold

0 %–110 % (default 100 %). Regions above the threshold show black stripes; sub-black regions show blue stripes.

Saturation zebra

Enable alongside luma zebra for additional saturation warnings:

  • Saturation above 70 % → yellow stripes

  • Saturation above 99 % → orange stripes

Safe Area Guides

Built-in overlay guides accessible from the scope settings or right-click menu.

Guide
Description

Title Safe / Action Safe

Two concentric rectangles. Default: Title 90 %, Action 95 %. Configurable colour and percentages.

Thirds

Rule-of-thirds grid with configurable colour

Crosshair

Centre crosshair with configurable colour

Custom Overlays

Load PNG images with alpha transparency on top of the Source Signal — safe-area guides, framing references, branding, or composition grids. Select the active overlay in the scope settings or from the Overlays window.

See Overlays for full details on managing overlays.

HSL Range Mask

Isolate a hue/saturation/luminance range on the preview. Pixels outside the range are rendered as black.

Setting
Description

Hue

Start/end (0–360°)

Saturation

Start/end (0–100 %)

Luminance

Start/end (0–100 %)

Use Load from mask / Save as mask to sync with the global mask.

Mask Drawing

Click and drag to draw a mask shape directly on the preview.

Shape
Description

Ellipse

Draw an elliptical region

Rectangle

Draw a rectangular region

Draw modes: Draw, Paint In, Paint Out. A single line mode isolates a single scan line.

Snapshot Compare

When a snapshot is loaded, compare it against the live signal:

Mode
Description

Horizontal wipe

Vertical divider — W + drag to adjust position

Vertical wipe

Horizontal divider — W + drag to adjust position

Opacity blend

W + drag to adjust blend amount

Blanking Alarm

When Blanking Detection is enabled globally, the Source Signal draws coloured bars over detected blanking regions on all four edges, with optional blinking alert (1-second cycle).

Display & Color Management

Setting
Description

Brightness

Override global brightness per scope (10–100 %)

Monitor ICC profile

Apply system or custom ICC profile

OCIO colour space

Select input and display colour spaces (requires OCIO config in Preferences)

Rotate

Rotate the frame 90° CW or CCW

Flip / Mirror

Flip or mirror the preview

macOS Quick Presets

Preset
Configuration

Match Resolve Viewer

Rec. 709 preview with tone-mapping

Match NDI Monitor

Unmanaged, no ICC, no tone-mapping

HDR / EDR (macOS)

Enable Display HDR to use Apple EDR output. EDR and HDR badges appear in the top-right corner. Includes PQ (ST.2084) decode with Reinhard extended tone-mapping, luminance white point, and luminance scale controls.

Keyboard Shortcuts

macOS
Windows
Action

Mouse wheel

Mouse wheel

Zoom in/out

Space + drag

Space + drag

Pan

Middle-click

Middle-click

Reset zoom

Alt (hold)

Alt (hold)

Show colour picker

Shift + Click

Shift + Click

Copy HEX to clipboard

Ctrl + Click

Ctrl + Click

Add as global target

StreamDeck / Action Editor

Action
Description

SourceTogglePeaking

Toggle Focus Peaking

SourceTogglePeakingLuma

Toggle Focus Peaking + switch to Luma

ClearAllPins

Remove all colour pins

ToggleLoupe

Toggle loupe magnifier

Last updated