> For the complete documentation index, see [llms.txt](https://docs.timeinpixels.com/llms.txt). Markdown versions of documentation pages are available by appending `.md` to page URLs; this page is available as [Markdown](https://docs.timeinpixels.com/nobe-omniscope/features/secondary-window.md).
# Secondary Window
Secondary Window lets you spread OmniScope scopes across two displays.
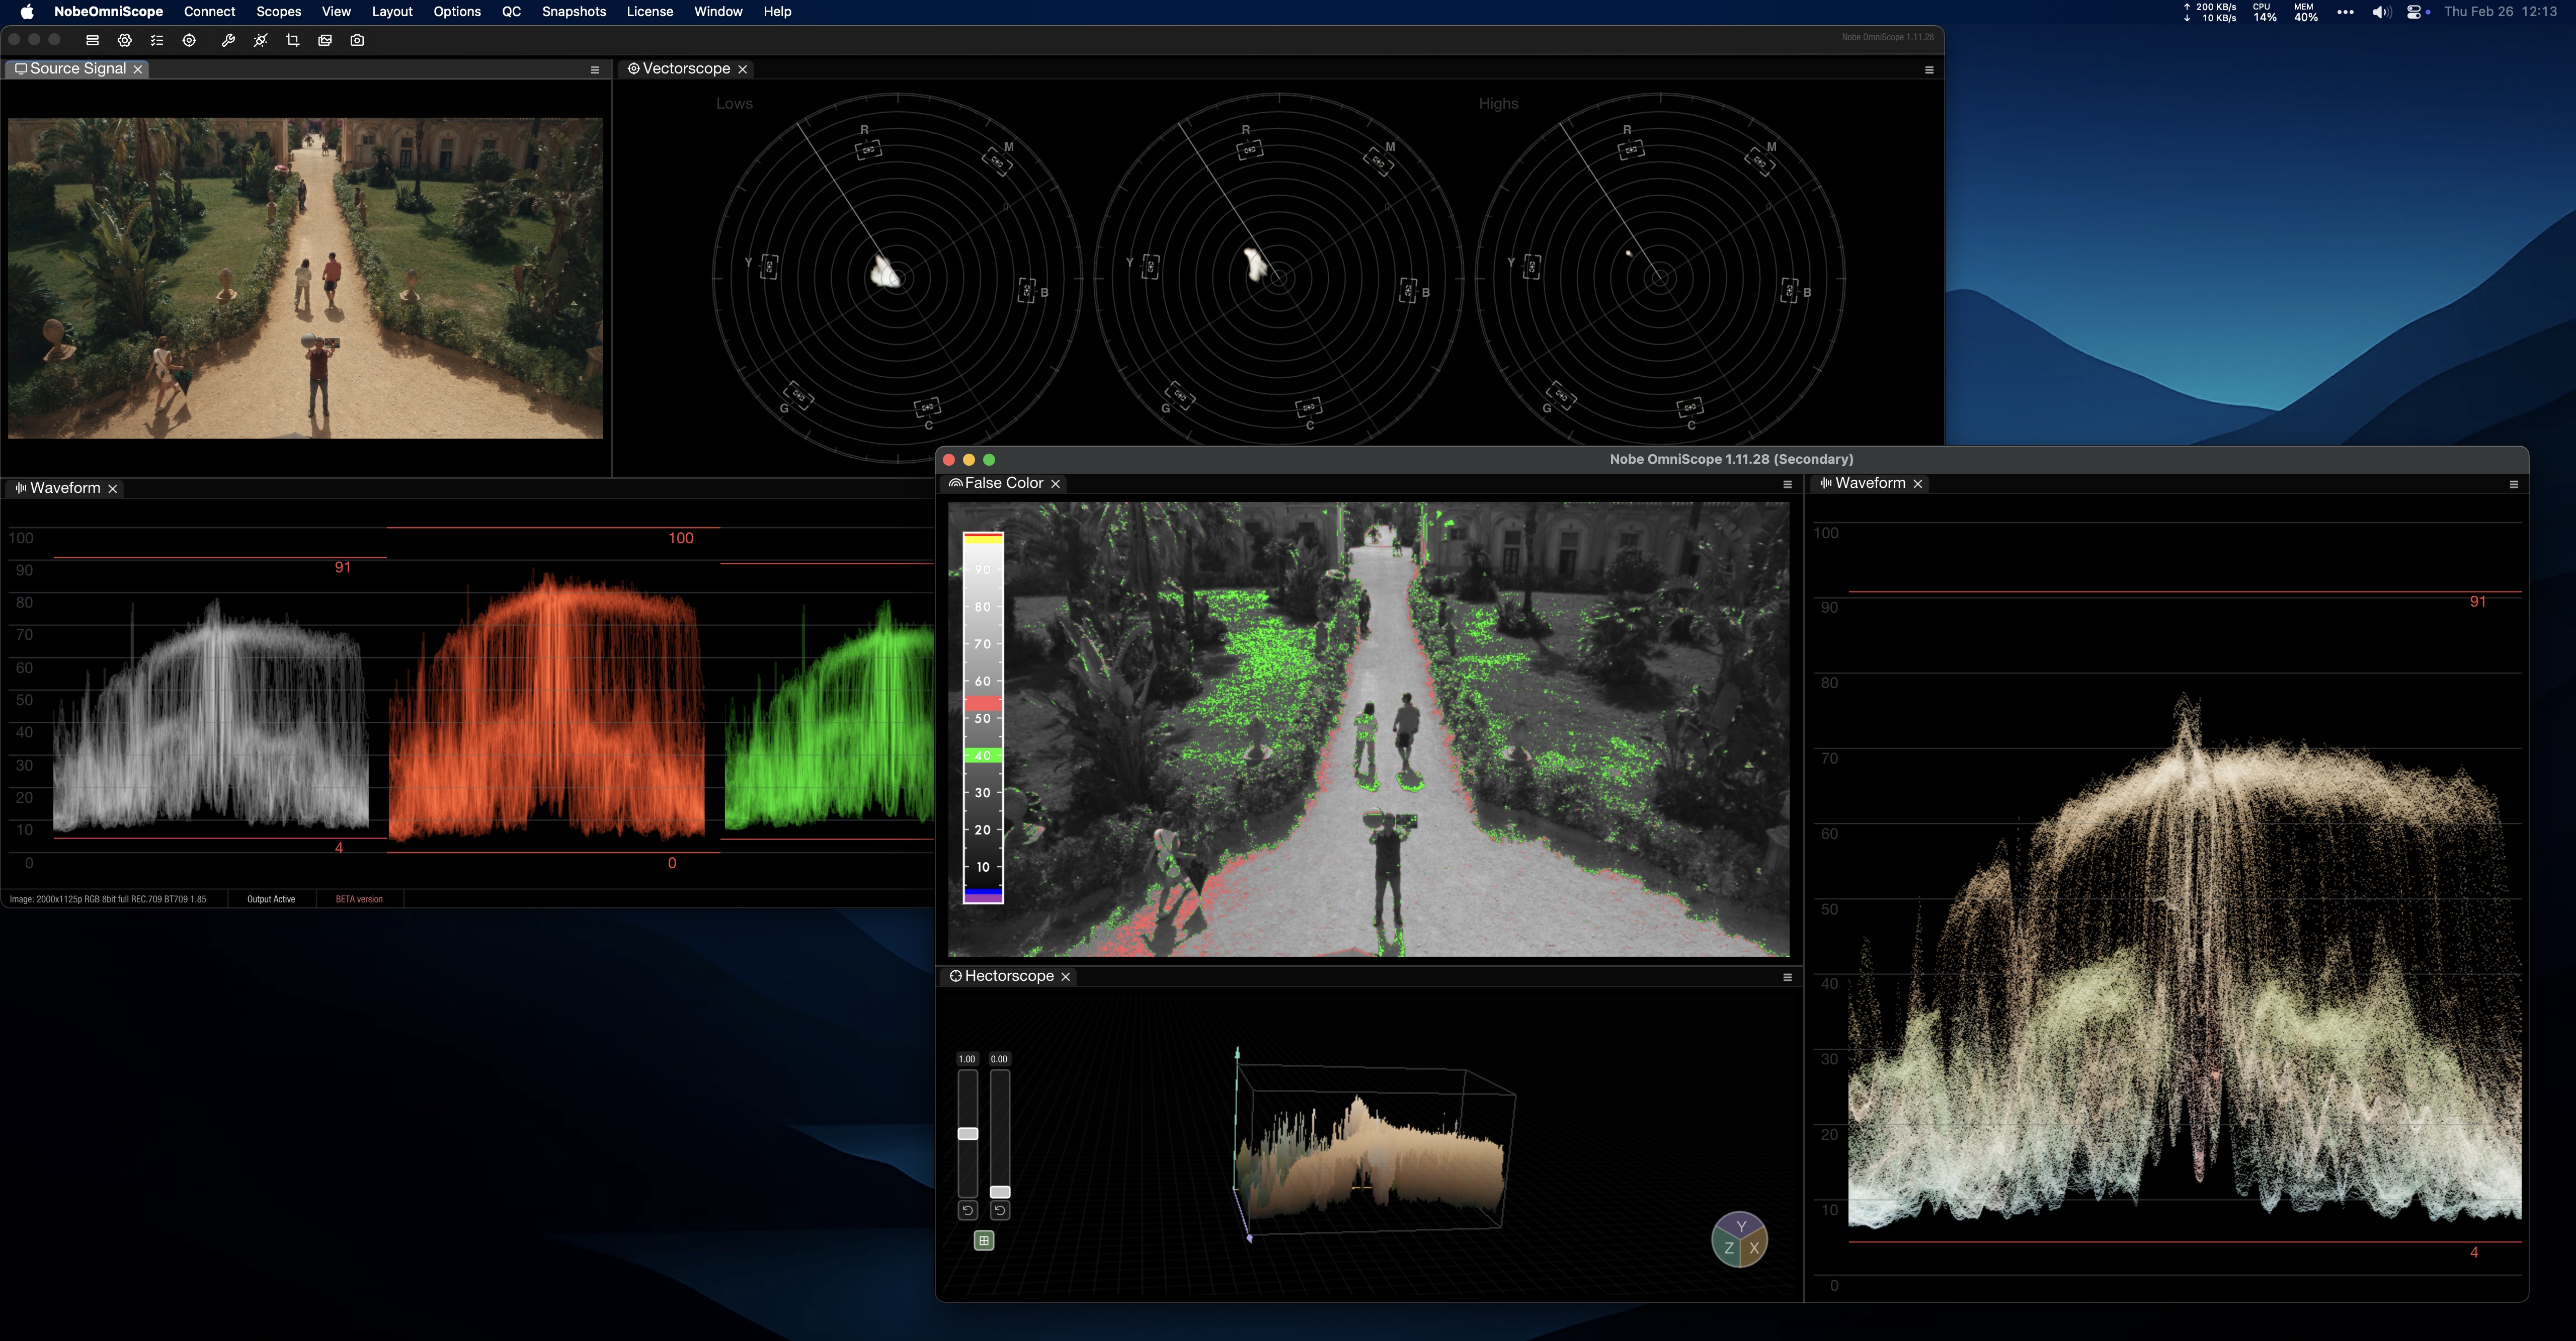
OmniScope with a secondary window on a second display
## Current Scope
The current implementation is focused on **macOS** and supports two native windows:
* Main Window
* Secondary Window
## Requirements
* Two connected displays
* Multi-monitor support enabled in Preferences
* App restart after enabling multi-monitor support
## Open and Close the Secondary Window
Use the macOS menu:
* **Window > Open Secondary Window**
* **Window > Close Secondary Window**
The app remembers the secondary window position and whether it was open.
## Assign Scopes to a Window
Use a scope tab menu (hamburger) and select:
* **Window > Main Window**
* **Window > Secondary Window**
When the secondary window is closed, scopes assigned to it are hidden. Reopening restores them.
## Move Snapshots and QC Timelines
In OmniScope 1.11.54 and later, use the **Snapshots** panel's three-dot menu or a QC timeline's context menu to select **Send to Secondary Window**. Sending a panel opens the secondary window if needed. Use **Send to Primary Window** to move it back.
When the secondary window is closed, assigned Snapshots and QC timeline panels appear temporarily in the main window. Their preferred placement is restored when the secondary window reopens.
## Adding New Scopes to the Secondary Window
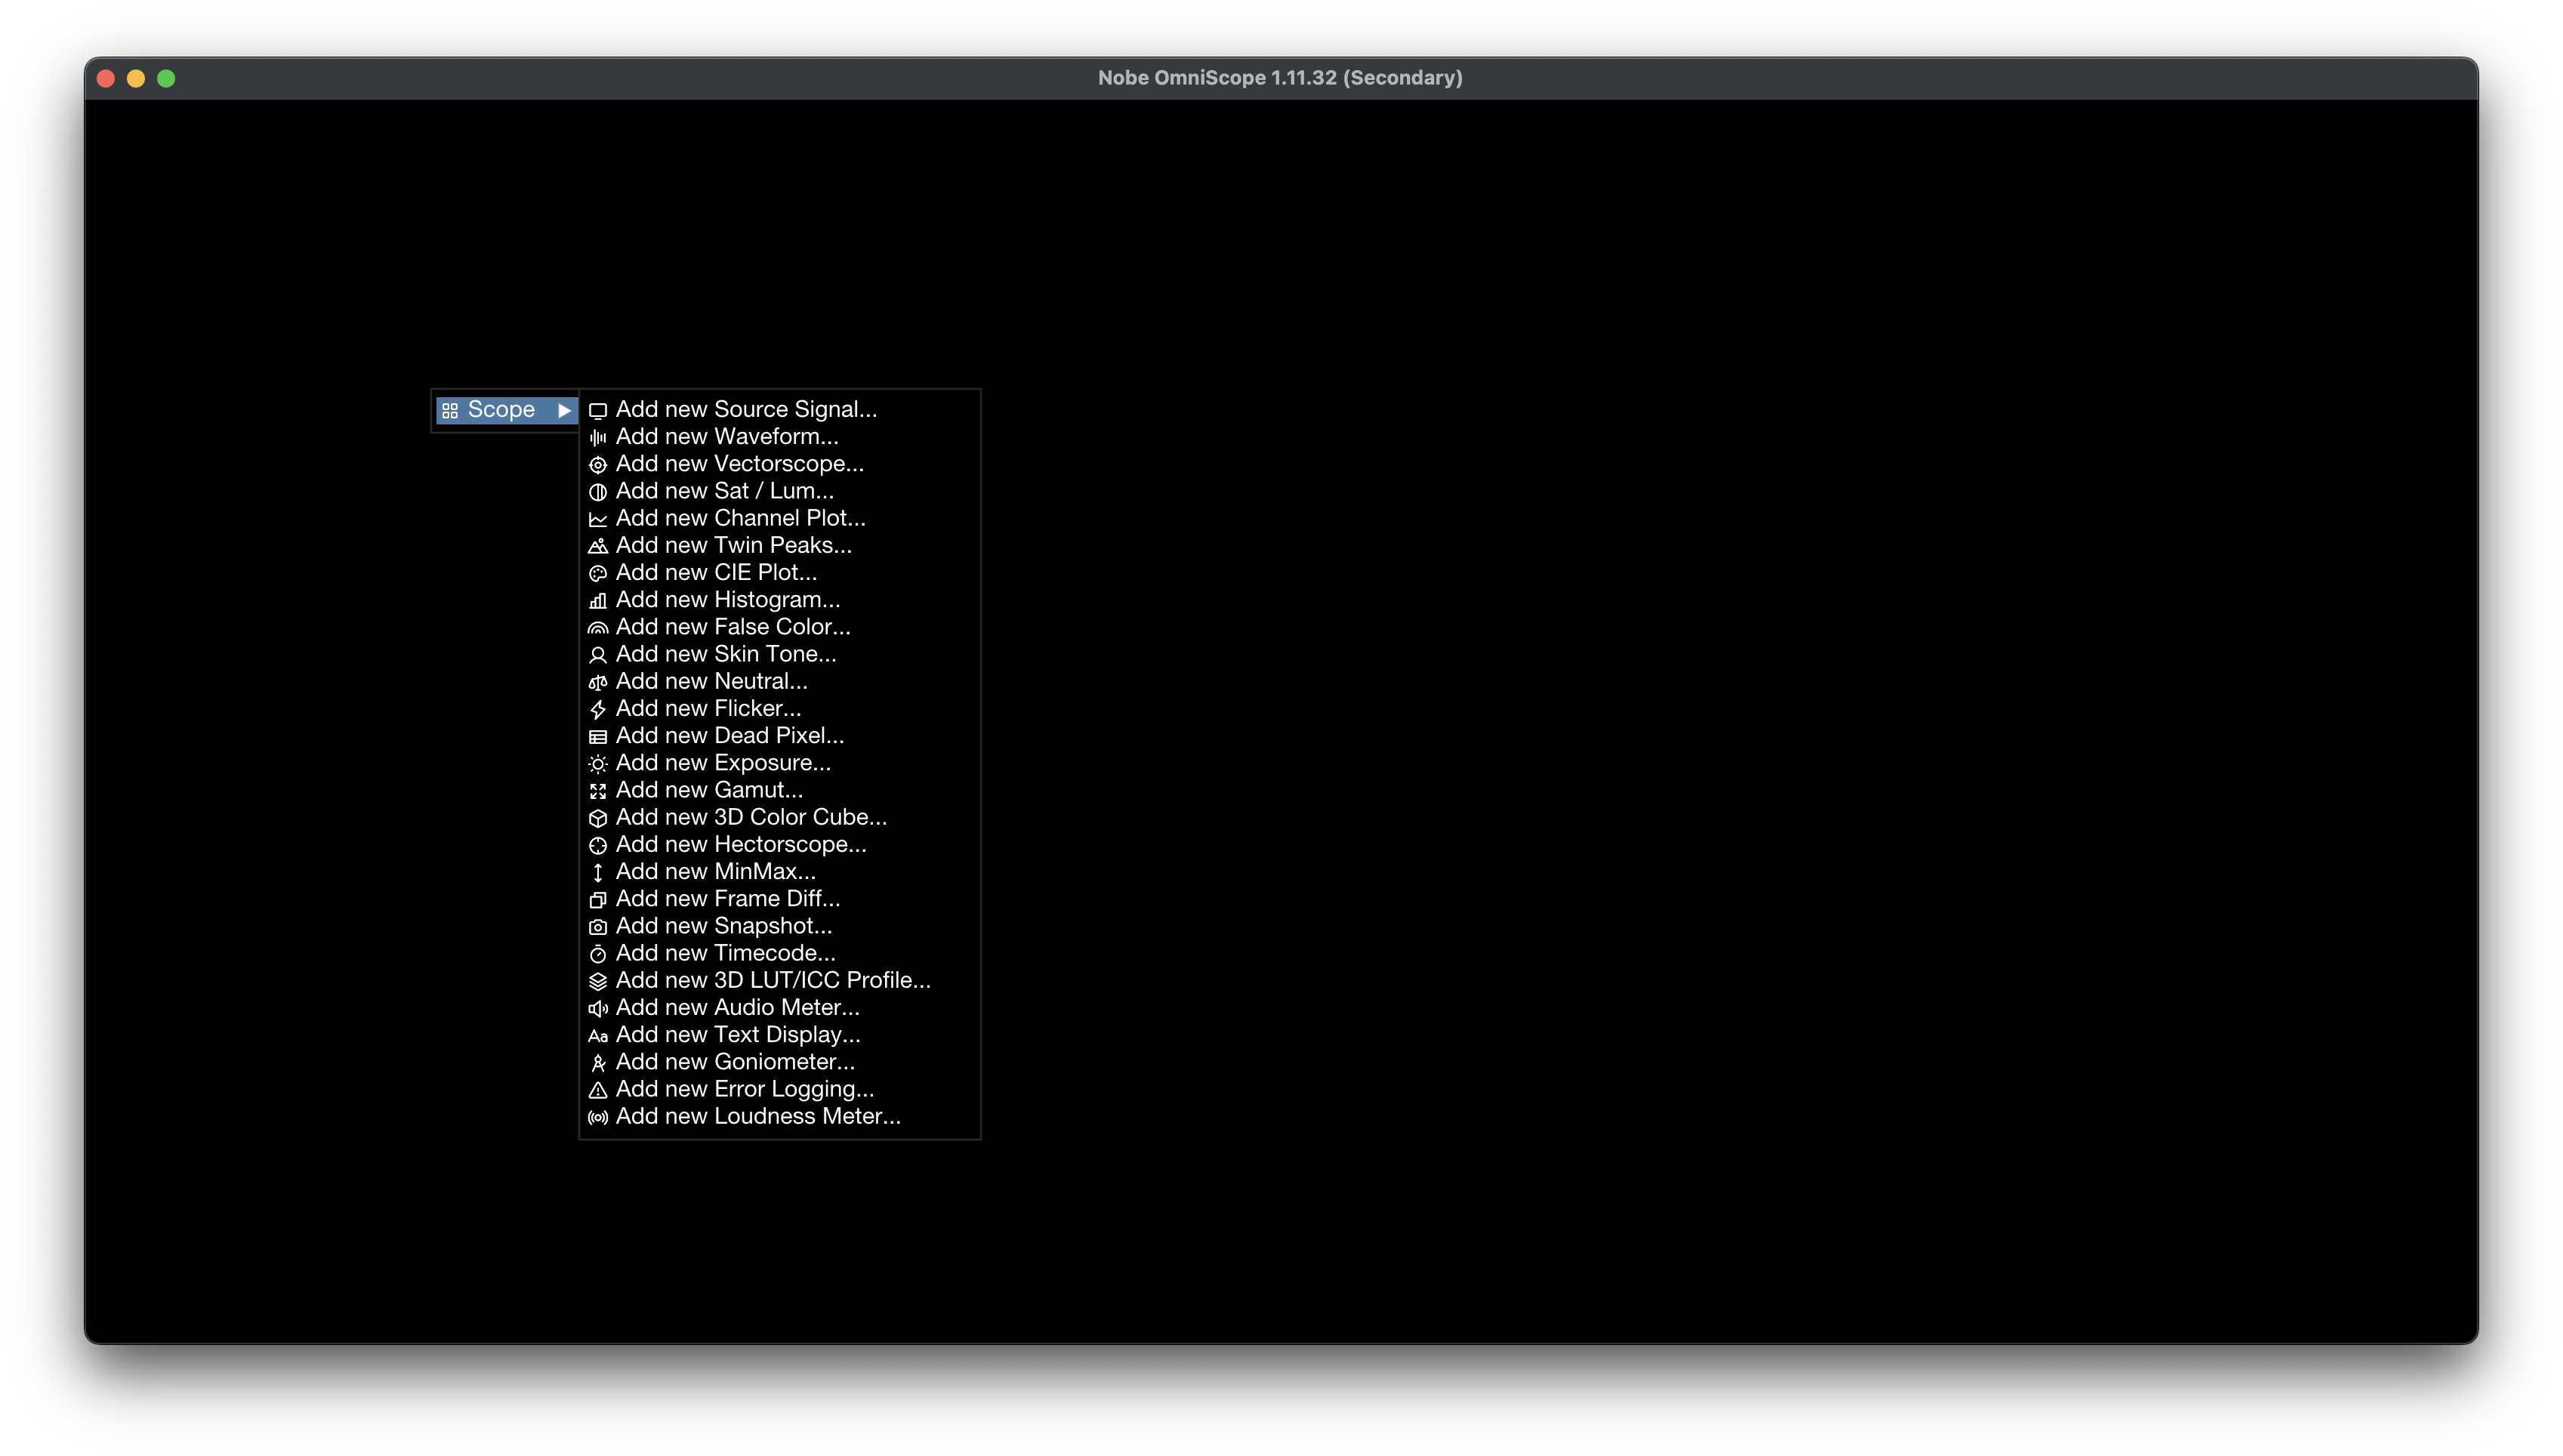
To add new scopes directly in the secondary window, **right-click any empty space** in the window and select a scope from the **Scope** context menu.
Right-click empty space to add a scope to the secondary window
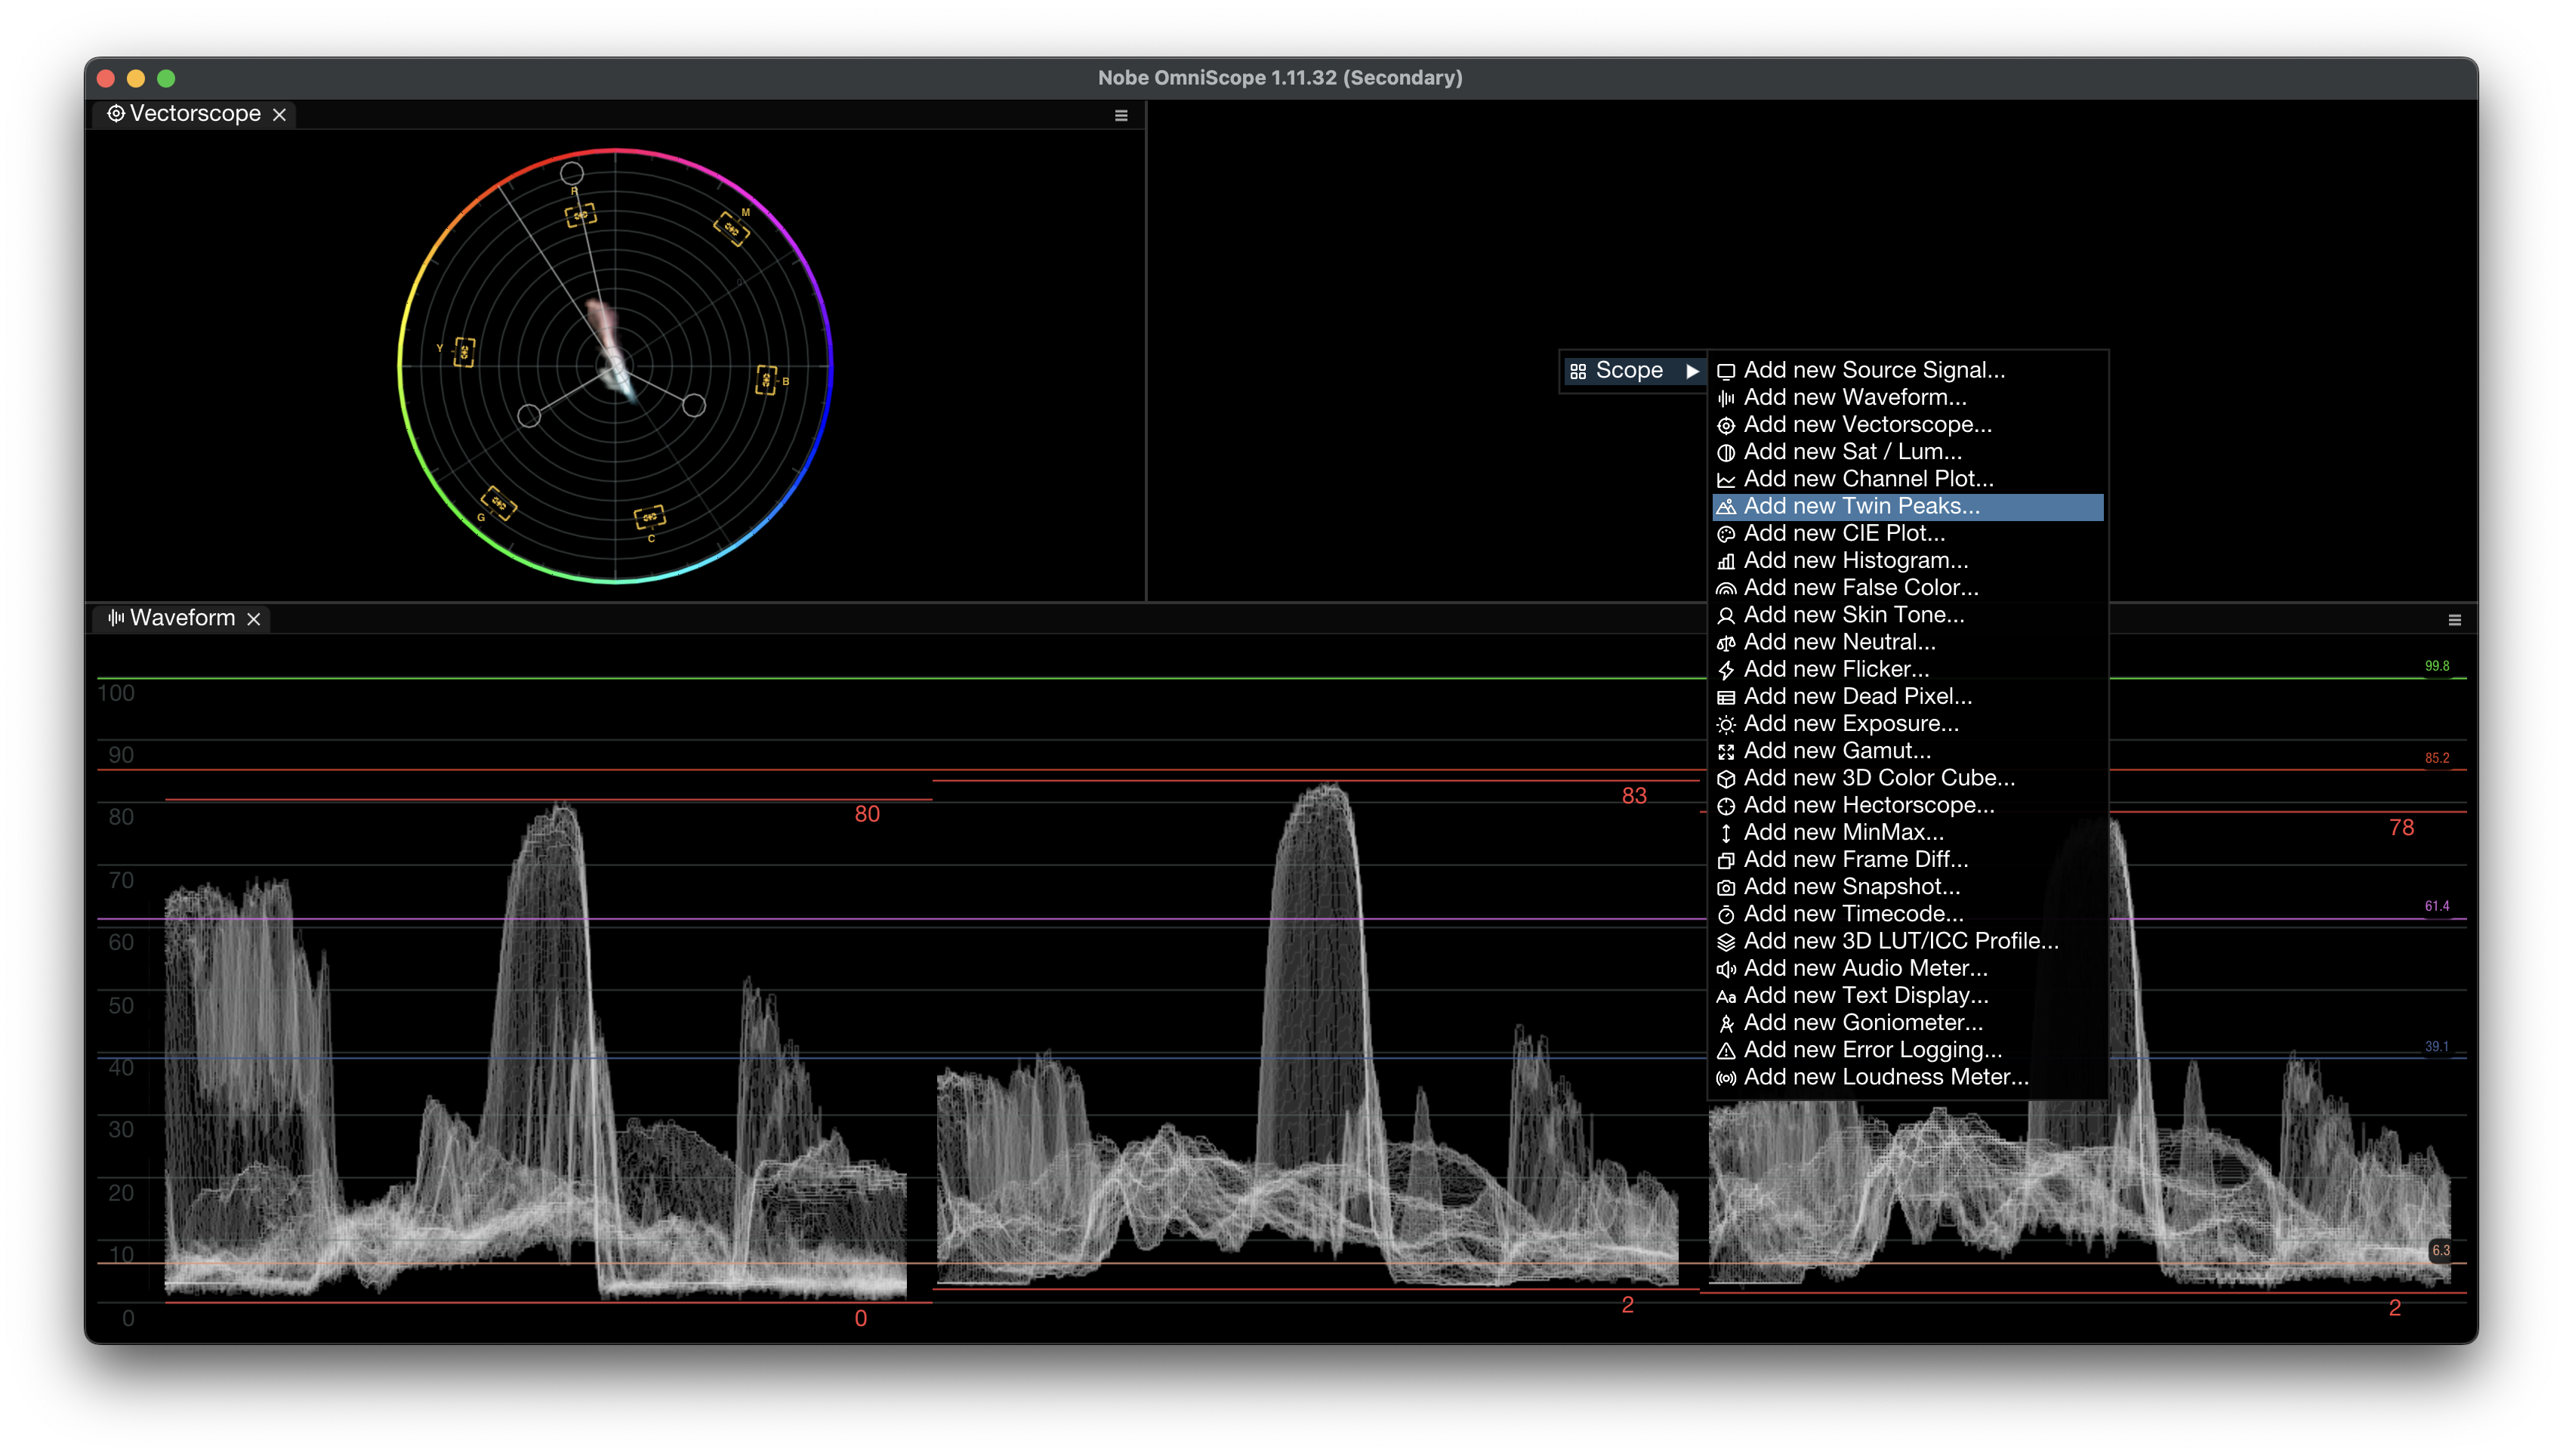
This works when the window is empty or when there is available space between or around existing scopes.
Adding a scope when other scopes are already present
{% hint style="info" %}
If all scopes are docked to fill the entire window, there is no empty space to right-click. To add more scopes, first remove or resize an existing scope to create empty space, then right-click to add the new scope and dock it back into the layout.
{% endhint %}
## Layouts
Saved layouts include both windows, scope placement, and the window assigned to each Snapshots or QC timeline panel. If only one display is available, scopes are arranged on the active display.
## Full Screen
**View → Full Screen** (or the keyboard shortcut) toggles full screen on both the main and secondary windows simultaneously on macOS and Windows. Each window enters full screen on its own display.
On macOS, OmniScope remembers whether the secondary window was maximized or full screen across restarts. Switching between layouts that both use a full-screen secondary window keeps it full screen.
## Current Limitations
* No drag-and-drop of scope tabs between OS windows
* Two-window setup only
## Troubleshooting
### Secondary window opens on the wrong monitor
Move it manually once; the position is persisted.
### Secondary window opens with no scopes
Assign one or more scopes to **Secondary Window** from each scope menu.
### Menu item is missing
Enable multi-monitor support in Preferences and restart OmniScope.
## Related
* [Layouts](/nobe-omniscope/layouts.md)
* [Scopes Overview](/nobe-omniscope/scopes.md)